How to remove a crevice and creak in a laminate without disassembling the floor
Content:
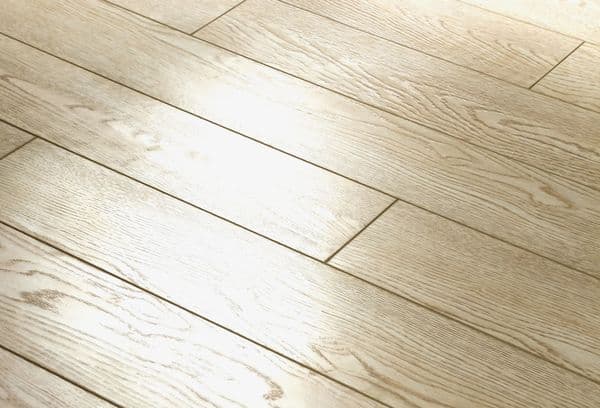
Laminate is one of the most beautiful and practical solutions for a bedroom or living room. It is resistant to abrasion, compatible with the technology of underfloor heating, and in itself is quite warm. At the same time, it looks spectacular and easy to care for. But what if the coating began to creak or seams? To remove the gap in the laminate without disassembling, you need to find out the source of the problem. Most often this is an error in the assembly.
Why laminate diverges
There are a lot of reasons, but the most common are the following:
- Installation error, too large or small gaps between the coating and the walls. This problem is easily fixed and does not require disassembling the floor.
- Improper care: too dry air in the room or, on the contrary, too frequent wet cleaning, constant dampness on the floor. In the first case, the material dries, but easily restores shape. If the boards are swollen, most likely they will have to be replaced.
- Debris caught in locks or under floorboards. In the first case, the probability is rather high that it is not necessary to shift the laminate, but in the latter it is inevitable.
- Fundamental mistake, laying on an uneven base or on chipboard floorboards. The latter are too soft, begin to bend and deform the floor.
We solve problems
Most difficulties are resolved without complications.
Inaccurate wall gaps
In this case, it is enough to knock out thin wedges where the indents are too large, and file the boards in places where the distance to the walls is insufficient. Why is this so important? Correct gaps are needed so that the load is evenly distributed over the coating. This is protection against overload and skew.
Humidity
To restore dried boards, just wash them with a damp (not wet!) Rag and do not wipe them dry. In order to avoid further problems, it is worthwhile to put a humidifier in the room or rearrange the dryer with wet linen here once or twice a week.
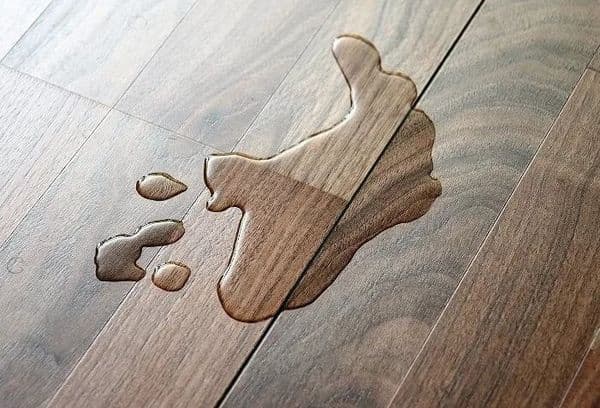
If the dampness corroded the boards, they warped, one of the solutions is to disassemble the coating, put it under the press and let it dry. But the press should be perfectly even and should not be shifted, in general, the probability of success is low.
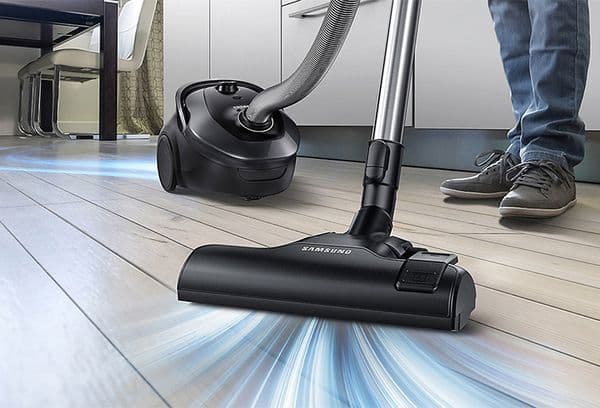
purityis.decorexpro.com/en/ magazine strongly recommends that you follow the laminate flooring rules: dry vacuuming 1-2 times a week and wet cleaning once every 7 days. There should not be puddles on the floor, so microfiber rags and products that do not need to be washed should be preferred.
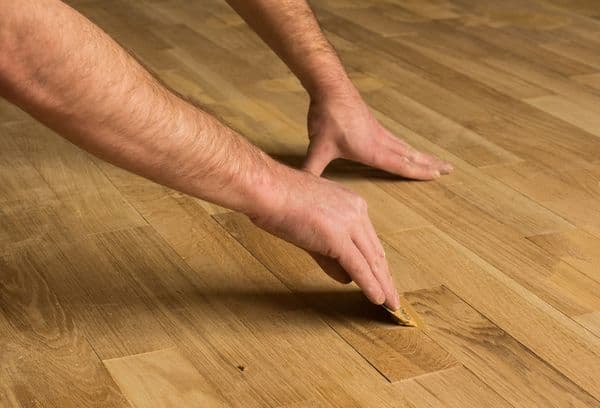
Small garbage
A special turbo brush for a vacuum cleaner, an ordinary brush with a long bristle of medium hardness or an elementary wide brush for drawing or repair will help to remove the dust and small specks from the locks.
However, if the trash remains or is under the boards, they will have to be lifted, otherwise the creak and unpleasant cracking will be constantly repeated.
Bad laying
With this problem, it remains only to remove the entire laminate until it breaks down, make a concrete screed, allow it to harden and reassemble the floor covering.
How to disassemble and assemble
How to dismantle the laminate so as not to damage it depends on the type of locks, i.e. the way that the coating boards are joined together.
Standard locks
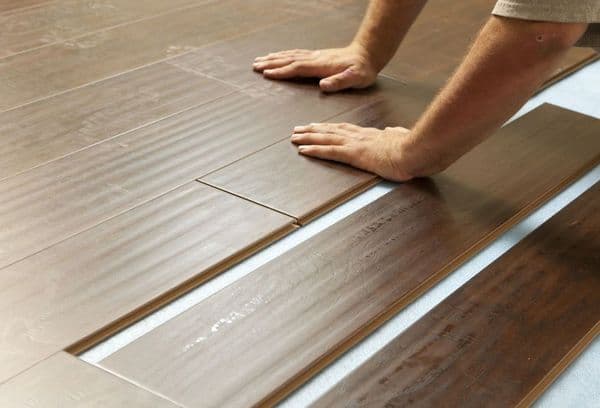
Most often, the laminate is fastened according to the pencil case system: a groove is made in the back end of the board in the whole width, and a “spike” is also carved in the front end of the whole width. The groove profile is straight, but it is L-shaped, and the same, but mirrored - at the spike. On the sides of the boards usually go straight along the profile of the spike and groove.
This design is assembled in strips, and this greatly facilitates the dismantling:
- Support the side of the extreme strip. Raise the edge carefully and not too much so as not to break the locks.
- Repeating the same over the entire length of the strip, separate it from the rest of the coating.
- Carefully raise the freed strip at the junction of the ends of the boards.
- Pull the end piece to the side so that the spike comes out of the groove.
- Repeat with all the boards in the strip.
- Go to the next row.
The operation does not require any special tools or special skills, but the master needs utmost accuracy and patience. If you hurry or raise the strip / board too high, the lock will break and the laminate will not lie back.
An equally important and scrupulous task is to properly assemble the coating back. Obviously, you need to start the installation from the far wall to the exit, although there are other methods, for example, diagonally, when the strips are laid out from the corner.
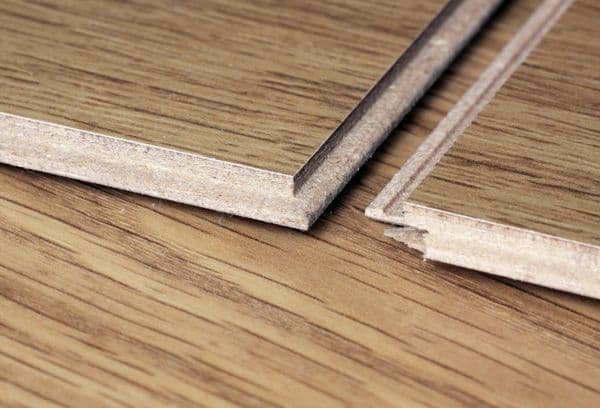
The first boards are joined by the ends - the base strip is formed. Then the next element is connected sideways with the base strip. In order for the spike to enter tightly, the board is “driven in”. You cannot hit the part itself - it is fraught with damage. An anvil bracket is required. She squeezes the side of the board, carefully strikes with a hammer, then the anvil moves and so on along the entire length of the board, until the elements are joined.
The next element is connected to the end of the previous one and to the side of the base strip.
Proper installation and maintenance of the laminate guarantee a very long service life. Modern boards are made with a special coating that repels dust and moisture, prevents the development of fungi and microorganisms. This floor is comfortable, warm and safe. If the laminate began to creak, you need to eliminate the cause, and not try to mask the gap. In extreme cases, you have to disassemble and reassemble the entire floor. This procedure is simple, but requires accuracy and patience.