How to paint eggs for Easter with special dyes?
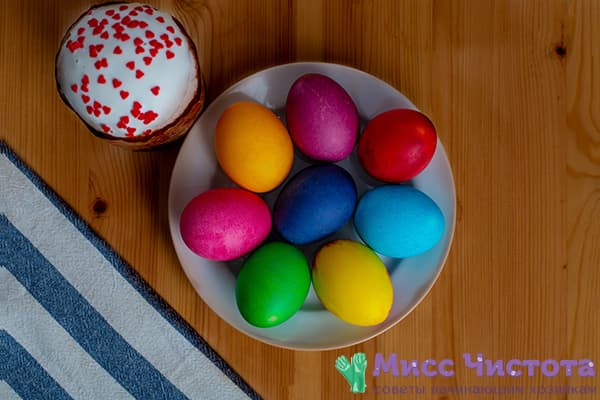
One of the easiest ways to paint eggs for Easter celebrations involves using food coloring. Bright and rich colors allow you to create a whole palette of shades on the festive table, making it especially elegant. Today I want to share with you the secrets of craftsmanship - I will tell you in detail how to properly paint eggs for Easter with food colors. Guided by simple tips, you can get deep, sophisticated egg colors and maintain product safety.
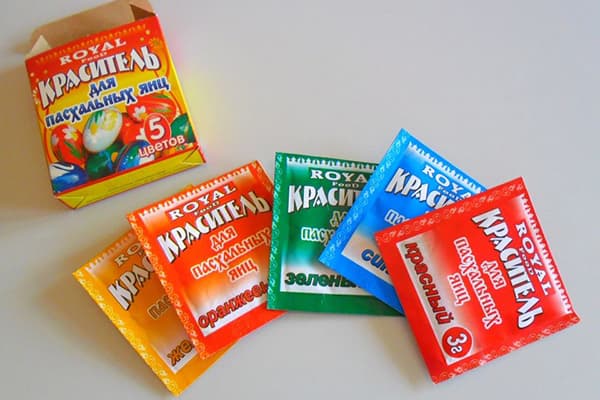
The main rule when coloring eggs with food colors is to use products from only trusted and reliable manufacturers. Typically, a quality kit has a rather discreet packaging, since the composition of the substance, and not the appearance, is of fundamental importance to the manufacturer. Such dyes are quite easy to use and provide a consistent, even color.
Caution, dyes!
It should be remembered that food additives labeled "E", which are mainly used in food colors, are far from harmless to health, and even more dangerous are colors, on the packaging of which there is absolutely no composition. The most harmless are E100 and E140, prohibited - E124 and E142.
Pearlescent dye is strictly contraindicated for ingestion. Therefore, be prepared for the fact that an egg of an extraordinary beauty will no longer be a food product, but only a souvenir. Moreover, you should not risk your health by eating protein that has stained in the process.
Thus, in order to properly dye eggs for Easter with dyes, it is important to maintain the integrity of the shell. You can only boil eggs at room temperature, so you should preheat future paints in warm water or give them the opportunity to "adapt" to the environment, leaving them on the table for 2-3 hours. Salt or shell vinegar will also help to preserve the shell - any of these components should be added to the water during cooking.
How to paint eggs beautifully?
You will need:
- eggs
- salt,
- table vinegar
- food colorings,
- disposable cups - according to the number of shades,
- sunflower oil - 1 tablespoon,
- gloves.
Step-by-step master class:
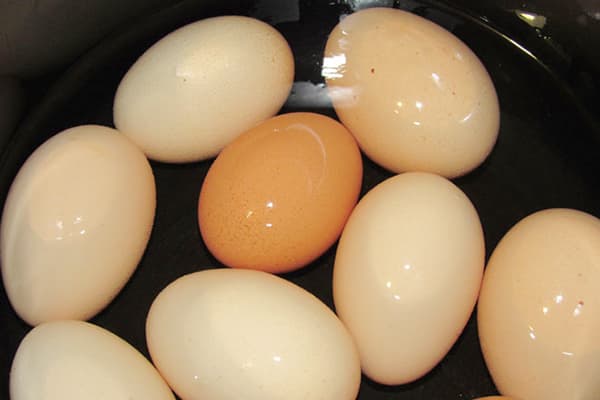
- Step 1. Boil hard-boiled eggs by adding salt to the water. Heat treatment usually lasts 10-15 minutes after boiling. Cool.
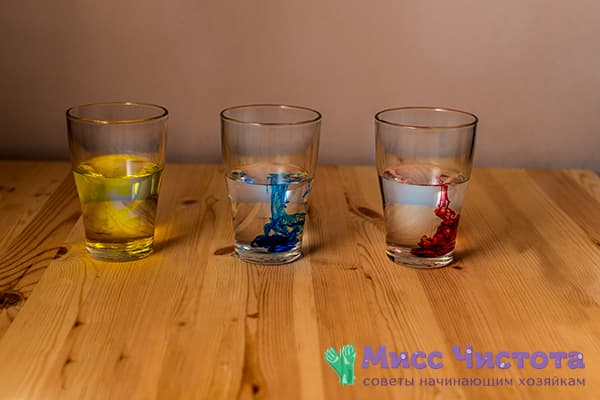
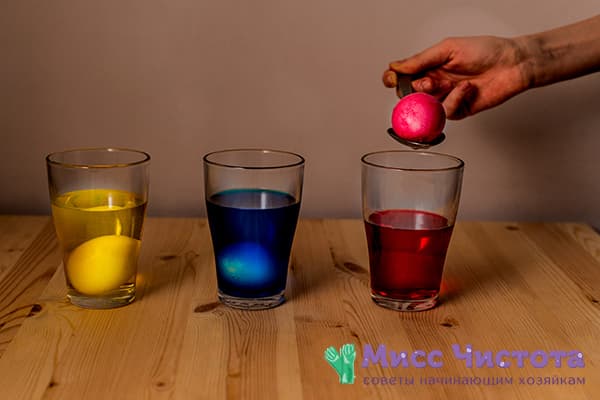
- Step 2 Pour into disposable cups of warm water. Pour dye powder in any color into water. In this matter, you should follow the instructions on the packaging and the manufacturer's recommendations. If there is no instruction, dissolve the contents of the bag in 0.1-0.5 liters of water. To stir thoroughly. If the colorants are liquid and are contained in plastic capsules or glass tubes, a few drops should be added to water according to the instructions. To obtain more delicate and pale tones, you can reduce the amount of dye. In order for the color to be bright and dark, it is necessary, on the contrary, to increase the concentration of pigment.
- Step 3 Add 2 tablespoons of vinegar with the coloring solution - this will contribute to the oxidation of the composition and further fixing of the pigment on the shell. You can also wipe each egg with a cloth soaked in vinegar. This will degrease the surface of the shell and also save color.
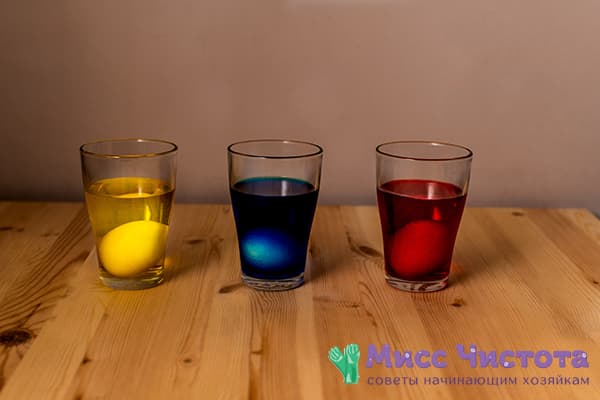
- Step 4 Wear gloves. Using a spoon, carefully lower the egg into a glass. The liquid should evenly cover it. Leave the egg in the solution for about 5-10 minutes (or for the time indicated on the package).
- Step 5 Using a tablespoon, lay the painted eggs on a paper napkin or a stand made by hand (for this, several needles or safety pins should be inserted into a sponge or polystyrene - this way the eggs will dry without streaks and streaks).
- Step 6 Grate dried krashenka with a cloth soaked in sunflower oil - this will give them a charming shine, and the color will become even more saturated.
Add originality
It is not necessary to make Easter souvenirs one-colored - you can experiment with one of the ways invented by creative craftswomen.
- Ombre on Easter Eggs
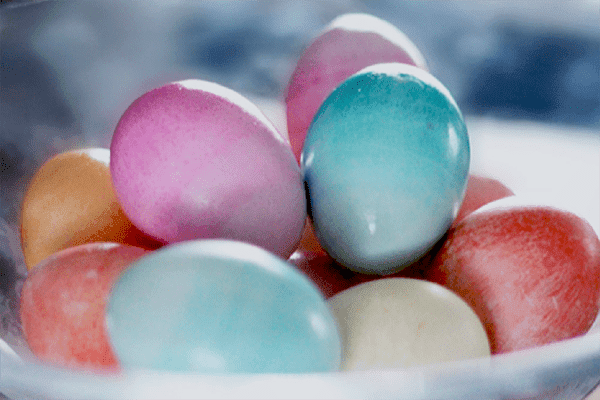
To obtain a gradation of color, the prepared egg must be immersed in a colorful solution halfway. Wait 5 minutes and add ordinary water in a glass of paint so that the egg is already completely immersed in the solution. After 5 minutes, get the egg. On the one hand it will be darker, on the other it will be lighter. Such gradient coloring is a simple but effective technique that makes the puppies original without any unnecessary decor.
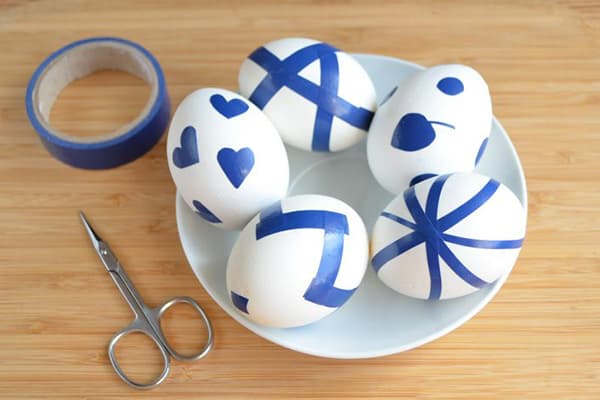
- Painting using electrical tape
To beautifully paint eggs with tape or thin tape, you need to cut sticky tapes into makeshift figures or patterns, and then stick them on a hard-boiled egg. Dip the testicle in the staining solution for 5-10 minutes. After drying, remove electrical tape or tape. Original and unique pictures will remain on the shell, which will make your little girls especially beautiful.
- How to paint with a rubber band
You can dye eggs with gum. On prepared, hard-boiled testicles, stationery gum should be randomly put on - in a spiral or perpendicular to each other. Submerge the egg in a glass with paint, wait 5-10 minutes, pull out. After drying, remove the rubber bands.

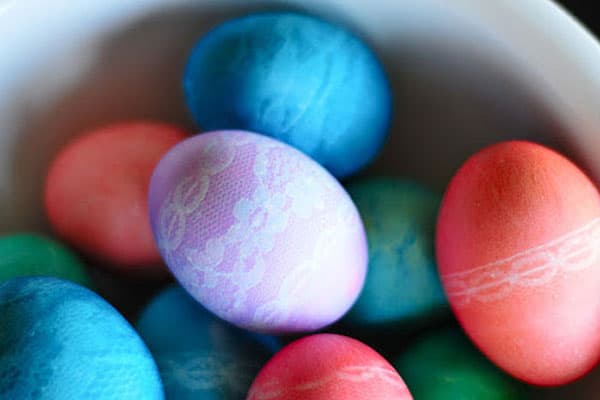
- How to make lace easter eggs
Prepared eggs can be wrapped with lace flaps, fixing them with elastic bands or threads, and also immersed in dye. On the dyes, an exquisite openwork-print pattern will be obtained.
- Speckled Eggs
Pour dry rice into a small plastic cup, then drip liquid dye into it. Stir thoroughly until all rice is colored. The egg should be lowered into a glass, cover and shake well. Krashenka will be covered with delicate dots. By the way, people call such eggs speckles.

- How to make marble eggs
To paint eggs beautifully, you can use regular shaving foam. To do this, squeeze an even layer of foam onto a tray or other similar flat container. Pour a few drops of a liquid dye of different colors on the surface of the foam. Stir with a toothpick, spoon or any wand, creating simple patterns on the foam. Next, you should roll the egg over the resulting substance so that the colorful foam evenly covers it. Dry for 10 minutes. It remains to rinse - and you can admire the chic swirls.
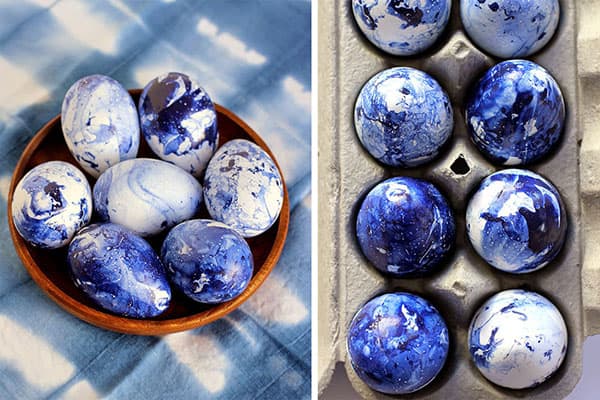
Another way to create marbled eggs is to use vegetable oil. To do this, add it to the coloring solution (1 tablespoon is enough). The egg must be immersed in a liquid and twisted there until the entire shell is covered with "marble" patterns. Then it remains to dry the paint and enjoy the bewitching color.
- How to color eggs with leaves
To get an exclusive pattern on the shell, you can use twigs, flowers and leaves. It is better if the plants are flat - then the picture will be more clear. The leaves should be attached to a pre-cooked egg and fixed on it with old nylon tights, fixed with threads.
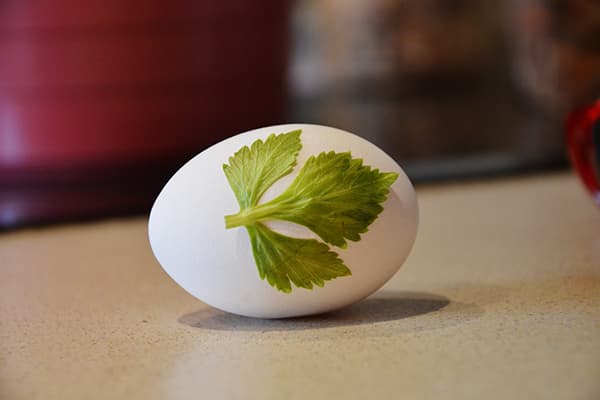
It is important that each egg be tightly wrapped in nylon. Each resulting bag must be immersed in a coloring solution and held there for about 5-10 minutes, depending on the desired color intensity. A minute is enough for pale, delicate shades. After that, carefully remove the egg from the container, dry and print.Charming krashenki with a unique pattern is ready!

Useful Tips
- Multi-step staining is best done with hot eggs that have not had time to cool down. The dye will dry very quickly.
- Cooking eggs is better on moderate heat, because with a strong boil they will bounce and can beat each other.
- When staining brown eggs, the final color may differ from what the dye manufacturer promises.
- It should be remembered that food dyes will be washed off the skin after about a day, so it is better to work with gloves.
- With multilayer staining, you should start with the lightest tone.
Colors have a symbolic meaning, and a certain set of them is traditional for the holiday. So, yellow represents the sun, green - the birth and cyclical nature of human life, red - the resurrection, the triumph of life over death, blue - eternity and heaven. You can tell about this in a playful and exciting way to children who are sure to take part in creating unique and beautiful Easter symbols with pleasure. We wish you a bright holiday!