Decoupage secrets, materials and procedures
Content:
Those who consider themselves to be creative in nature and strive to decorate their home with exclusive things will be useful to learn how to make decoupage and what materials can be used to make man-made masterpieces. Translated from French, découper means cut. The art of decoupage is to use ornaments or drawings cut from paper and glued to the surface of a common household item to give it a new individual image.
What can you make decoupage from?
The technique of decoupage is quite simple, which means that any person who does not even have obvious abilities for other types of creativity can do this kind of needlework. The main thing, using imagination, is to choose a theme and decoration. After the new artistic image "ripens", you can begin to work.
In stores selling goods for needlework, you can buy decoupage kits, which include all the necessary items: special painted paper, paints, varnishes, brushes. However, ready-made sets are quite expensive and do not always fit the artist’s plan, so experienced needlewomen try to use improvised materials.
- For decoupage you can use images printed on any paper or fabric. The only choice is the thickness of the base material: the thinner it is, the better and more natural the created composition will look.
- Suitable for creativity and ordinary paper napkins, which are sold in any hardware store.
- You can use suitable images from the pages of magazines. Since the magazine sheet has a large thickness, the fragment with the pattern should be thoroughly soaked in water, otherwise waves may form when glued.
- Images printed on a printer are perfect for work. To make such a picture thinner, you can treat the paper with a fine sandpaper from the back. The main thing is not to wipe the hole. Such a pattern adheres well and does not stretch, and the transition to the base is almost imperceptible.
Tip
Instead of plain paper for printing, it is better to take photo paper. The image will be clearer and brighter. The cut out picture must be covered with a layer of acrylic varnish, dried and then immersed in water for 5 minutes, after which the excess layer of paper will be easy to remove.
To create a conceived composition, you can use pieces of wallpaper by treating the edges of the cut fragment on the back side with sandpaper. In some cases, even toilet paper is suitable.
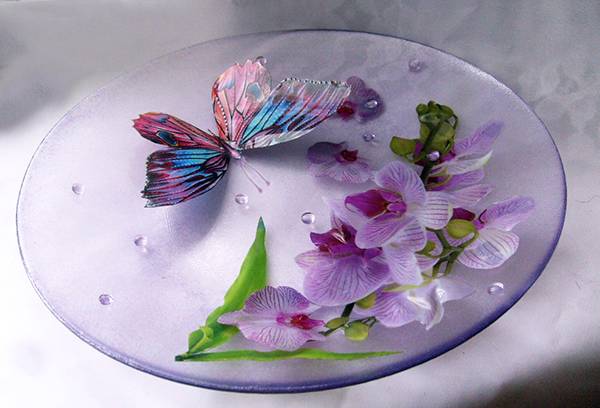
How to make decoupage on glass
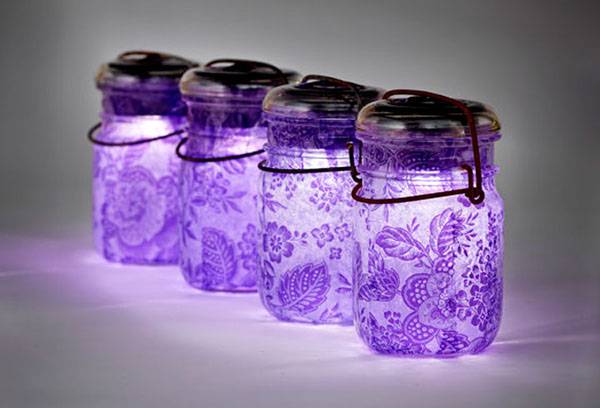
Among lovers of creating with their own hands, glassware decorating is especially popular: plates, cans, vases, glasses, decanters and other unpretentious household items.
The decoupage technique on glass can be of two types: direct and reverse. In the first case, the drawing is applied to the front surface of the subject, and in the second to the reverse. Of course, we are talking only about transparent glass.
The choice of equipment depends on the purpose of using the decorated item. For example, it is not practical to draw a vase from the inside, since the water will quickly wash out the pattern, which means that you need to stop the choice on direct application of the decor. When designing a plate, it is better to use the reverse method. This will prevent food from touching the varnished surface.
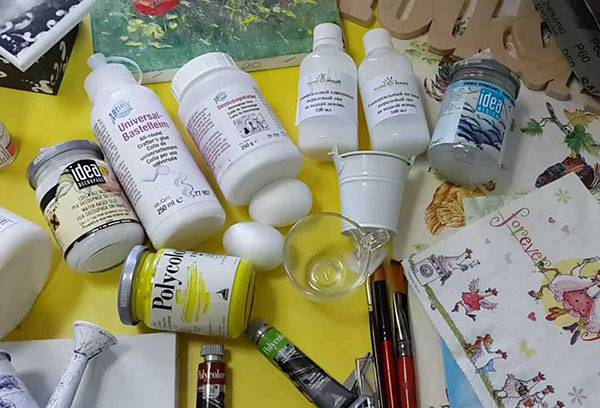
Necessary materials
Before starting work, you should stock up with the necessary materials and auxiliary items and prepare:
- product on which the image will be applied;
- a napkin or photo with the selected image;
- PVA glue;
- small and large scissors;
- brushes of different sizes;
- a roller for aligning the pattern when glued or a tissue napkin;
- acrylic or polyurethane varnish;
- sequins, beads, rhinestones, stones, paints (depending on the composition).
In order not to stain the workplace and, if necessary, quickly remove excess glue or varnish, you must additionally prepare a fabric or paper towel, cotton swab.
Decoupage technology
After the workplace is organized and all the materials are prepared, you can start decorating the selected subject. How to make decoupage on glass, the author of purityis.decorexpro.com/en/ understood.
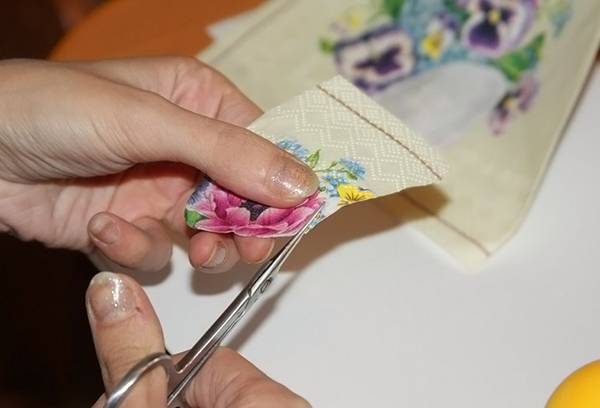
- From the napkin, the favorite pattern is carefully cut out.
- On a glass object, the marker marks the place of application of the picture. Even if the paper accidentally moves, it can be quickly returned to its original place.
Important! When decorating glass surfaces, preliminary soil treatment is not required. It is enough to degrease the place of gluing with acetone or alcohol.
- For a few minutes, the paper with the image is soaked in water.
- The place of gluing is treated with PVA glue and, without waiting for the adhesive to dry completely, a picture is carefully applied. The image should be straightened with movements directed from the center to the edges. The pattern should fit snugly to the surface of the glass, the formation of folds and bubbles is unacceptable.
- With light movements, trying not to damage the thin paper, the pattern is covered with a layer of PVA glue.
- The remaining space can be painted with acrylics.
- After the adhesive layer has completely dried, the decorated surface is varnished and the product is placed in the oven, heating to 150 ° C.
Having done the simple steps described in the instructions, you can get a beautiful, stylish and original thing.
Where can I use decoupage
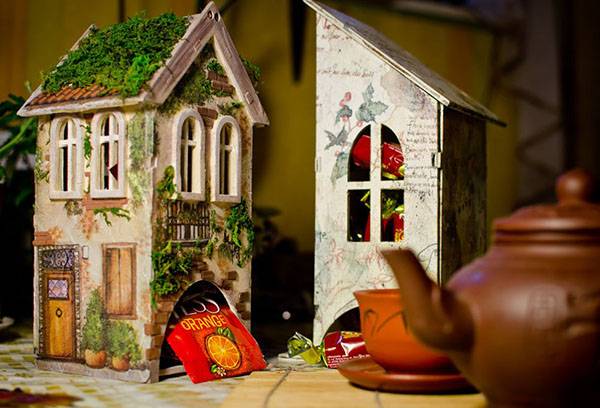
Having mastered the technique of decoupage and having finished his first creation, it is difficult to stop, and you want to decorate some other chair, box or flower pot. Fortunately, you can decorate anything. Notebooks, photo frames and albums, cans and bottles, tableware, glasses, decanters and much more can be transformed using decoupage.
It is very correct when parents introduce children to this type of creativity. Diaries, songbooks, valentines, decorated with children's hands, will not leave anyone indifferent.
With the help of decoupage, it is easy to breathe life into a long-forgotten grandmother’s chest of drawers or a kitchen cabinet prepared for dumping in a landfill. Interior items can not only be updated, but also artificially aged. It is enough to apply a special craquelure varnish, and as a result we get a rare antiquity.
Unique items made in a single copy, decorated using the decoupage technique, embody the individuality of the creator and make the interior refined and original.